
How to Apply
Every Paint2Fix kit is mixed to your car's factory color. Choose your type of damage below and follow the steps — the paint needs only 3 minutes before you finish it off.
Deep scratch
The scratch goes through the color — you can feel it with a fingernail.
-
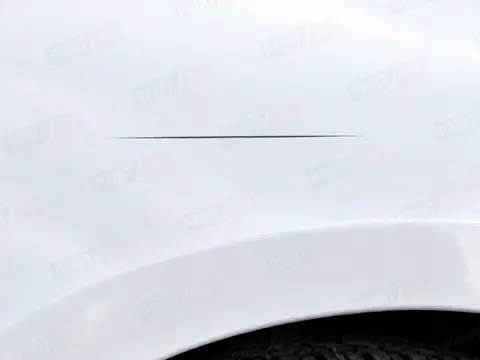
Clean
Make sure the area is clean and dry. Put on the gloves.
-
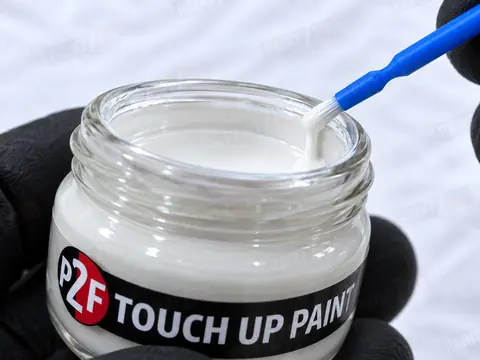
Load the brush
Shake the jar for 20 seconds, dip only the tip and wipe the excess off on the rim.
-
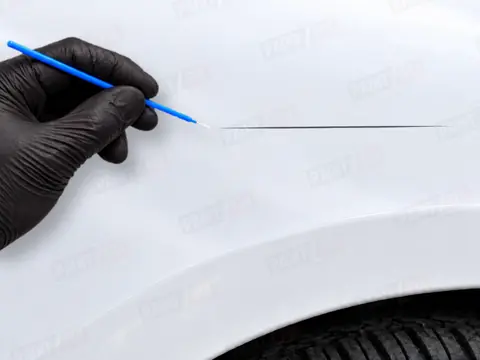
Fill the scratch
Start at one end and cover the whole scratch with a few short strokes.
-
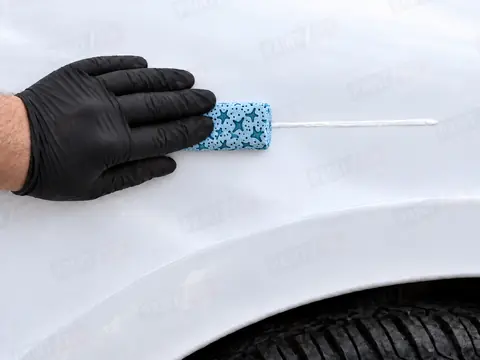
Wipe flat
If paint went over the edges, wipe it off after 3 minutes — flat along the scratch, with the firm sponge.
A deep scratch has cut through the clear coat and the color, often down to the primer or bare metal. The aim is to fill the groove completely, so the paint has to cover the whole scratch from one end to the other — not dot by dot.
Work in the shade on a cool panel. Shake the jar for 20 seconds, dip only the tip of the micro brush and wipe it once on the rim so the excess flows back into the jar. Start at one end and fill the scratch with short strokes until it is fully covered. A little paint on the edges is fine — it comes off in the next step.
Let it dry for 3 minutes. If some paint went over the edges, place the firm sponge on the cloth, fold the cloth around it and hold the folds at the back, so the front stays flat and firm. Put a few drops of touch-up paint remover on the flat face and wipe gently along the scratch with light pressure. The flat face bridges the scratch: the remover takes off only the paint on the surface, and the paint inside the scratch stays.
The result: the scratch is filled and only a fine line remains.
Light scratch
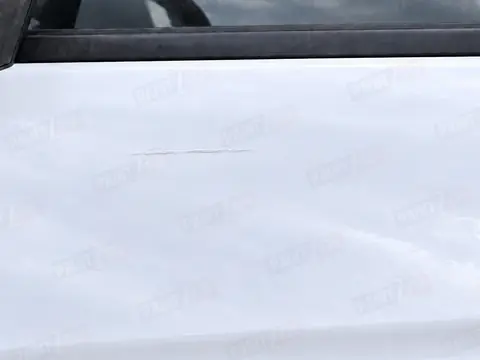
Only the surface is scratched — you can see it, but you can hardly feel it.
-
Clean
Make sure the area is clean and dry. Put on the gloves.
-
Load the brush
Shake the jar for 20 seconds, dip only the tip and wipe the excess off on the rim.
-
Thin layer
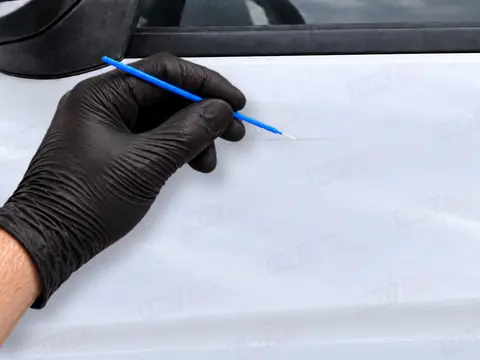
Cover the scratch with one thin layer — with the brush or a flexible plastic card.
-
Wipe around it
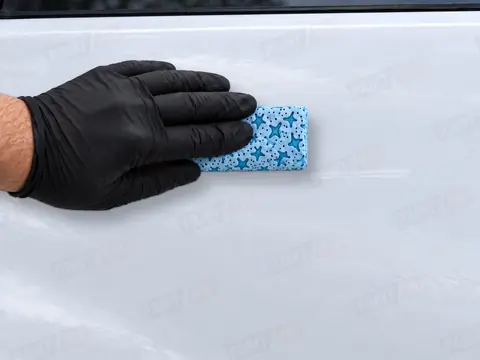
If paint went beyond the scratch, wipe it off after 3 minutes — only above and below, never across it.
A light scratch only marks the clear coat or the top of the color. It needs one thin, even layer that covers the whole line — no thick build-up.
Use the micro brush, or for a longer scratch a flexible plastic card: put a little paint on its edge, hold the card at an angle and spread the paint over the scratch like a spatula.
Let it dry for 3 minutes. If some paint went beyond the scratch, put a few drops of remover on the pad and wipe only around the scratch — first above it, then below it. Never wipe across the scratch itself, or you take the fresh paint out again.
The result: the scratch is barely visible.
Stone chip
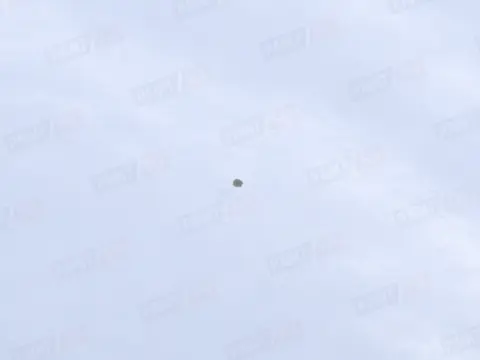
A small spot where the paint has come off — usually on the bonnet or the front bumper.
-
Clean
Clean the chip and let it dry completely.
-
Load the brush
Take very little paint — just the tip of the brush.
-
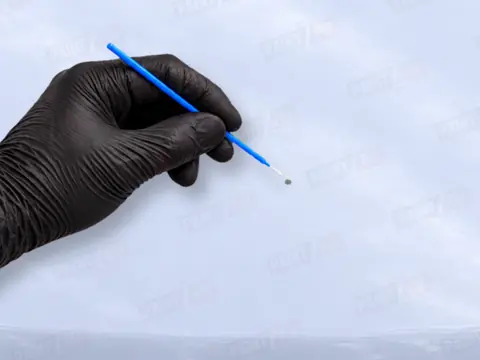
Dab it in
Dab the paint into the chip. Do not brush.
-
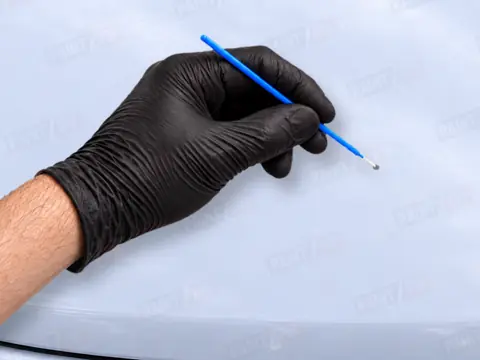
Fill only the chip
Fill only the chip itself, then let it dry.
A stone chip is a small crater where the paint is missing. The trick is to use very little paint and to dab it in, instead of brushing it over the paint around the chip.
Take only a tiny amount on the tip of the brush and touch it into the chip until it is level with the surrounding paint. For a deeper chip, let the first layer dry for a few minutes and add a second one.
Let it dry. A fine outline can stay visible — that is normal, and from a normal viewing distance the chip disappears.
Watch the full video
The video shows every step for all three types of damage. Tap a chapter to start it there.